CasperVend 2/VIP Lists: Difference between revisions
Jump to navigation
Jump to search
| (4 intermediate revisions by the same user not shown) | |||
| Line 37: | Line 37: | ||
:# You will get a popup saying "Saved!" - just click the blue "ok" button. | :# You will get a popup saying "Saved!" - just click the blue "ok" button. | ||
== '''<span style="color:#00528c"> | == '''<span style="color:#00528c">Add to Your VIP List - Manually</span>''' == | ||
:# Click "Manage" button for the relevant VIP list - you will arrive at the list's page. '''([https://wiki.casperdns.com/images/4/4b/VIP_List_Page.jpg see image])''' | |||
:# Click the blue "Add Member" button. | |||
:# You will get a popup asking you to add the account (legacy) name of the VIP member you wish to add. This is NOT the display name! | |||
:# When done, click the blue "Ok" button. | |||
:# The page will refresh, and show you the VIP list with the new name added. | |||
The VIP member list will ALSO show the date they were added, and have a "Delete" button at the far right for each avatar. | |||
== '''<span style="color:#00528c">Remove From Your VIP List - Manually</span>''' == | |||
:# Click "Manage" button for the relevant VIP list - you will arrive at the list's page. '''([https://wiki.casperdns.com/images/4/4b/VIP_List_Page.jpg see image])''' | |||
:# Find the name you wish to remove from the VIP list. | |||
:# Use the "Delete" button on the far right of that line to remove them from the list. | |||
:# Page will update and show you the list page with that name removed. | |||
You also have the option to "Delete All" (which will completely wipe the list) OR to delete any that were added via total spend (which would keep any that you've manually added.) | |||
== '''<span style="color:#00528c">Set VIP List Options in Products Listings</span>''' == | == '''<span style="color:#00528c">Set VIP List Options in Products Listings</span>''' == | ||
Latest revision as of 19:34, 4 August 2024
VIP Lists are a powerful feature in Caspervend which allow you to give benefits to certain lists of customers.
Using this feature, you can:
- Make as many different lists as you want
- Restrict products to be only purchasable by VIPs (Purchaser must be in thee list)
- Restrict products to only be deliverable to VIPs (Recipient must be in the list)
- Or both of the above
- Allow VIPs to bypass a product start/end date, allowing you to release early to VIPs
- Automatically add a customer to a list when they purchase a specific product
- Automatically include members in a VIP list if they have spent more than a certain amount of L$ in a month
- Deliver extra items to VIPs
Create Your VIP List
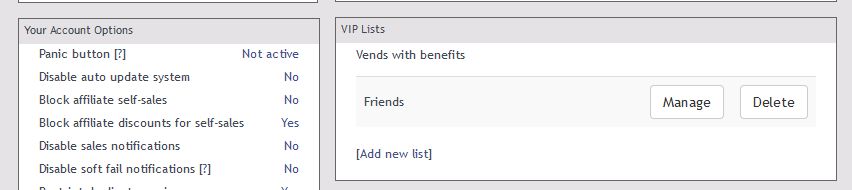
- Go to your Overview tab
- Scroll down to the VIP lists block, in the far-right column. (see image)
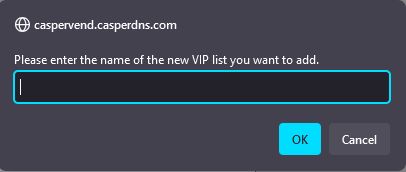
- Click "Add New List" - you will get a popup. (see image)
- Enter the name of the list, then click the blue "Ok" button.
- The page will refresh, and your new VIP list will be shown.
Manage Your VIP List - Automatically
If you wish to use the automatic options, there are two tickboxes at the top of the page.
One will auto-add people if they've spent a certain amount per month in your store (and will remove them at the end of the month.)
The other is a permanent add after spending a certain amount in your store.
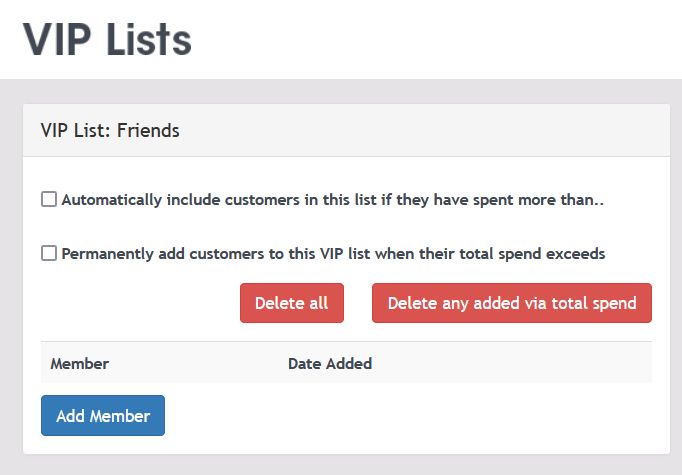
- Click "Manage" button - you will arrive at the list page for that particular VIP list. (see image)
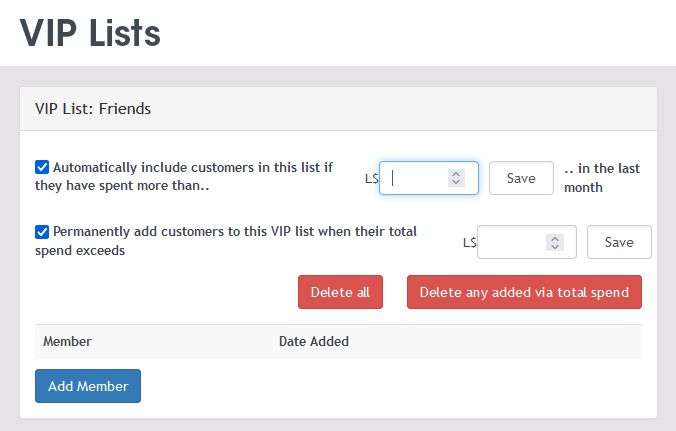
- Tick one or both of the boxes at the top of the page.
- Each box ticked will open up a L$ entry box - just enter in the total of Lindens you want the customer to have spent in your store for each one.
- Then click the "SAVE" button for EACH ONE you have entered numbers in. (see image)
- You will get a popup saying "Saved!" - just click the blue "ok" button.
Add to Your VIP List - Manually
- Click "Manage" button for the relevant VIP list - you will arrive at the list's page. (see image)
- Click the blue "Add Member" button.
- You will get a popup asking you to add the account (legacy) name of the VIP member you wish to add. This is NOT the display name!
- When done, click the blue "Ok" button.
- The page will refresh, and show you the VIP list with the new name added.
The VIP member list will ALSO show the date they were added, and have a "Delete" button at the far right for each avatar.
Remove From Your VIP List - Manually
- Click "Manage" button for the relevant VIP list - you will arrive at the list's page. (see image)
- Find the name you wish to remove from the VIP list.
- Use the "Delete" button on the far right of that line to remove them from the list.
- Page will update and show you the list page with that name removed.
You also have the option to "Delete All" (which will completely wipe the list) OR to delete any that were added via total spend (which would keep any that you've manually added.)
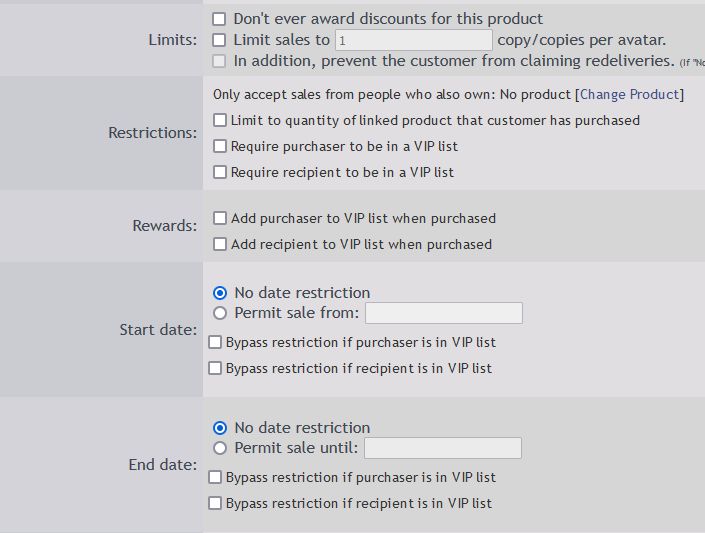
Set VIP List Options in Products Listings
- Go to your products page
- "EDIT" the relevant listing.
- Scroll down until you see the restrictions and rewards settings. (see image)
- Tick a box to enable the VIP setting. You will get an "Add List" button
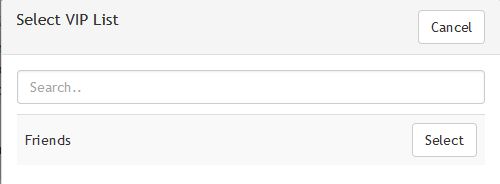
- Click "Add List" - you will get a "Select VIP List" popup. (see image)
- Select the list you want to add to that option.
- You may add multiple lists to the same option on the same product! Just click "Add List" to add more!
- Repeat for each option you want to have a VIP list setting.
- Remember to scroll down to the bottom and click "SAVE"!